Initial OLT HSGQ Configuration
Note
To have a clearer understanding of how the OLT connection is structured when performing the configuration, you can refer to the following diagram on how to make the physical connection.

Steps to Configure New OLT
Access Data
Password: admin
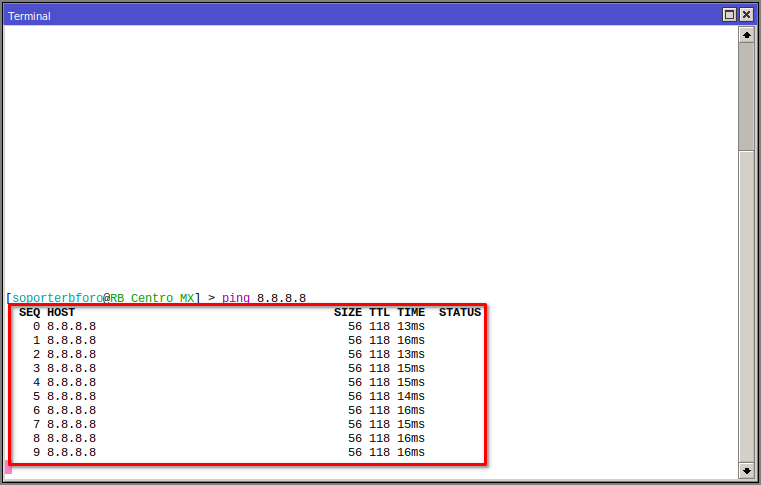
1 We must check that we have internet access
2 We must have our Vlan, Administration LAN, and Customer Segment LAN added. For more information, you can read the manual Configuration in RouterBoard MikroTik for OLT HSGQ

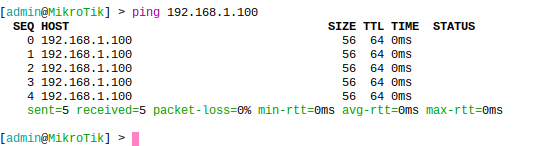
3 We must test the connection with the OLT with the default assigned IP
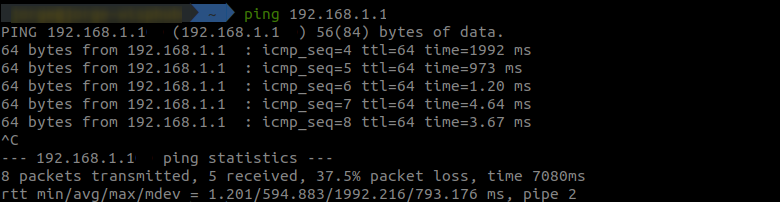
4 Connect our computer to the router network and ping from our terminal
5 We access the OLT's graphical interface

6 We configure the new IP for the OLT
New IP

We must log in again but with the new IP

Next Step
5 Add the gateway to the OLT
We log in through the web interface and in the following section, we add the gateway IP of the private IP of the OLT.

April 12, 2024, 3:32 p.m. - Visitas: 42216